Wednesday, August 3, 2011

Paper Droids!

What a month!  I finished paper dolls or should I say Paper Droids! And I've started and about half way through my robot backpack. :)  I'm excited.  I'm not excited however at my growing list of my car needs this as opposed to my growing list of I want these needles.  *sigh.  And with Boston quickly approaching and not everything being paid for yet, I'm feeling slightly frazzled.  I have to remind myself that it isn't entirely my fault as to why things have ended up this way, I didn't know/plan for my car to need a new battery, and for VW to take a week to figure that out.  I should have gotten new tires a long time ago but I haven't yet, I hope they can last another month, because I won't have any money for them.  THAT or I'll be sleeping in a car instead of in a hotel.  That could prove to be interesting. *sigh sigh sigh.  It's all I do.  I'm also finally home after not being here for what has felt like weeks.  Tomorrow  I will do laundry and then I've promised myself the whole weekend to get things done.  AND AND AND The Phineas and Ferb movie is Friday.  I'm so excited :) I'm going to make sugar cookies in celebration!  AND I'm overwhelmingly poor so I will have a feast of romen noodles - or Robin noodles as I like to refer to them - and popcorn for the next month.  Good thing my mother feeds me lunch throughout the week.  She's the best. :)  I might even decided to stay at my parents place  - planned not unplanned like it's been - to save on some gas since they're like a mile from work. :)

I have complete faith that everything in my life that I'm feeling unsure about will work out. Some things already have. :)


This is an accurate color picture, but before blocking and before adding buttons to C3PO's chest. :)  Doesn't it look great?


And after blocking!  I'll take better pictures and update on my 100 projects later, I need to get back to cleaning but I wanted to update about this! :)

Thursday, July 7, 2011

Re Starting Paper dolls!

So, I'm back at it on Paper Dolls :)  I know my gauge is off, even if it wasn't I think I'd still be concerened about it fitting around my bust.  I'm a 34DD.  Such a ridiculous size.  My waist measures at 31 inches, and then my chest is 38" Talk about serious increasing and decreasing.  I'll be surprised if my sweater looks as nice as the other ones on ravelry.


After about an hour, I've accomplished an inch.  So theoretically if I stay at this pace, and make the garmet 27 inches long (guess) I have another 30+ hours ahead of me.  Yay! lol :)

I also need to pick up my umbrella and socks again. Those might just be put off until Boston or something. :)

Projects 51-53

So Project 51 was made with another 3 projects but I don't have pictures of those yet, so for now I just give you one necklace instead of 4. :)


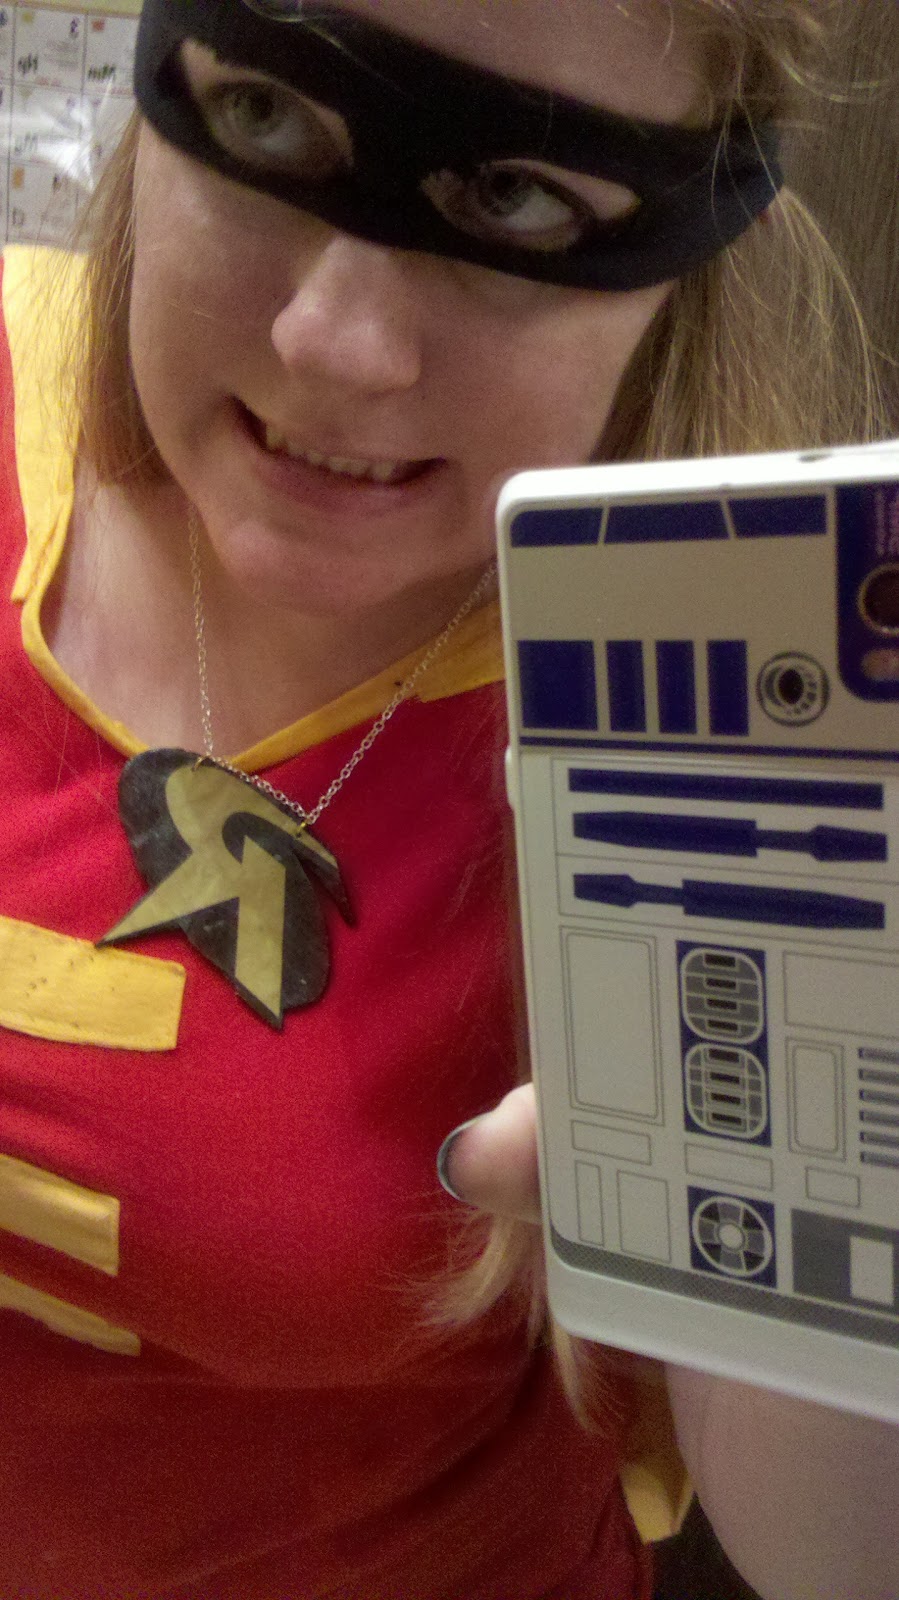
And Yes, I decided to put on my Robin costume just for the picture. lol. :) I made it using Max California's pdf tutorial found here. It was fun! Angie and I got together last Friday and made these :)  I also have an "I love Brian" one, a <3 Knit knitting one, and an "I love Sewing" one.  Angie made a Captain America one and a knitting one.  We used sculpey and mod podge.  And jump rings that are super colorful. :)


Project 51 - Julie's last minute Ravenclaw scarf!  I need to hurry up and get this in the mail tomorrow!! But even though it took me longer than my projected 10 days I think it turned out great! It only took 1 skein of Red Heart Super Saver Royal Blue for the whole thing too!  So yay $3 scarf!  This scarf was knit in 1 X1 ribbing and measures about 5 feet long.  I have 9 sections - Blue, grey, blue, grey, repeat, and ended with another 18 rows of blue to make it uniform on both ends.  I only casted on 42 sts and used size 8's instead of the recommended 6's.  I think that's what they used. :)  I'm pretty satisfied with this, and I think I might make some more scarves just also work on other things since they get so repetitive and boring.


I decided to just to take pictures with the variety of ways the scarf could be worn, since after 6 inches it's all the same. :)


Project 53 - House Brawl shirt from Threadless resize. This was a simple resize and didn't take much time. (30 minutes?) I think it looks amazing! Threadless didn't offer this shirt in the female size of my choice when I bought it, so I bought a Men's Large. Which is great because it gives me the extra room in the chest that I need and then the length. I did bring up the neckline and brought the sleeves in, and added a pucker for a puff sleeve. :) And shaped a bit for the waist but I didn't go crazy, maybe only brought it in a total of 2-3 inches.  I like that this resize the shirt is a little looser than tighter, I usually resize it to fit like a glove but this is a nice change :)


Pucker sleeves for puffiness!


Well I should get to working work.  And I have almost finished another captain america headband for my sister and I want to make her another headband with just a bow before I mail her scarf off tomorrow, So I can mail those also :)

Monday, June 27, 2011

Project 45 & 50

So I apparently forgot to share project 45.  It's a dress I made from curtains and it's pretty awesome.  It'd be nicer if the fabric wasn't heavyish and the dress double layered - it's heavy, but I like it a lot!


I shirred the back to make it stretchy and fitted and then the front is just brought in with the lacy waistband.  The top and back straps are crocheted and I designed the flower myself.  Still needs a little tweaking but honestly, I love it. :)

Project 50 is awesome.  Everyone, prepare yourselves to meet, Jabba Da Hug.


He's smiling/He's frowning - so at least he's accurate! I got the idea from Star Wars Crafts by I believe Bonnie Burton.  I'm a big fan of hers actually.  She commented on a Star Wars quilt I had made several years back on LiveJournal starwarscrafts community and I just thought it was such an honor for someone from StarWars.com blog to notice me. :)  I'm a nerd. What can I say?!  Anywhat, Jabba is made from a soft crush velvet green blanket that I got for a dollar from the yard sales, the inside has a body pillow and another soft pillow, both that I obtained from the same yard sales (Trenton's annual) bringing my total to 4.50 and the rest were scraps that I had laying about not doing anything.  So yay for an inexpensive and cuddly Jabba!! I want to make the other soft cuddly things from that book like the Bantha and the Wampa Washcloth.  If you're a star wars fan and a crafter and you haven't gotten that book, do it now.  Amazon.  Go.

I got a new book to me in the mail today, it's called Weekend Sewing and it has over 40 projects to inspire.   I'm very excited to delve into this and make some of the beautiful things I've seen :)  Time to knit some more of Julie's last minute scarf and watch more harry potter! :)

Sunday, June 26, 2011

I hide on Ravelry...

I feel like most days I just hide out on ravelry daydreaming about what my next project will be.  I seem to avoid facebook other than to tell someone happy birthday or post about a craft I've made.  I really want to get a tattoo of a sewing machine and a skein of yarn but I can't seem to find one already made, which is awful, I went to school for art and I'm quite talented when I want to be, but I finally bucked up and drew up my own tattoo.  I guess it's too detailed for any or most available spaces on my body.  My upper back already possesses a Hello Kitty Stormtrooper. :) love hello kitty and star wars, what a great tattoo!   Maybe I could do my lower back? Tramp stamp it?  It's a nice picture with optional words. I'm proud.


Also I don't think I've shared my latest projects!


Projects 46, 47 & 48 - New grocery tote bags!  When I was making these I kept thinking how perfect they'd be for my 3 kids. lol I don't have any kids.  But with their own individual color/styles handles from old girls belts, but the uniformity of the pattern throughout all three bags I could see 3 children taking them to carry travel things for a long car trip.  Coloring books, crayons, dvds, handheld game systems and games whatevs!  But, it's just me, so I'll use them for my groceries.  Also, can you believe these use to be curtains?! How tacky.  Super adorable print as bags in my opinion :)  And they were from start to finish about half an hour and total cost was about a dollar.  Super win!


Project 49 - Since I put my cozies pattern up on ravelry I wanted to make sure it was actually correct since I started to second guess myself.  Tweeked it by adding an extra round of increases ending in 39 sts, makes it a nice stretchy - not too big - not too tight can cozie. :)  I wanted to add some extra flair with the fun fur but I have to admit, the total greyness of it all isn't very me. :)

Must get back to knitting Julie's Ravenclaw scarf!  And eat dinner...


Saturday, June 25, 2011

Lightsaber chapstick cozie!

This pattern is pretty simple and I get lots of compliments on my chapstick cozie all the time! :)

Size - should measure about 4 inches tall - so the chapstick sits further down preventing it from slipping out of the top.
Gauge - 4 sts & 6 rows = 1" in stockinette stitch.
Materials - 
US 6/4.0 mm DPN - set of 4, tapestry needle, worsted weight yarn in black, grey, white, red and your choice for the lightsaber part.  I chose a glow in the dark blue, but appropriate colors are blue, green (jedi) or red (sith) or you can get crazy and do purple like Mace Windu, or get even crazier and just do whatever you want!
Pattern Notes: CO - cast on, K - knit, Kfb - knit in both the front and the back of the loop to create an increase, P - purl, BO - bind off.

CO 6 sts, join in round
K
Kfb every stitch (12)

For a shorter lightsaber (but the chapstick will still sit further into the cozy - won't be flush with the top) knit 12 rows, for the chapstick to sit fully in the blade of the lightsaber, I'd recommend knitting closer to 20 rows.  The chapstick shown is 12 rows.  Later cozies that I've made are closer to 20 row blades.

K 12 to 20 rows
Switch to grey and K 1 row
P 2 rows
Switch to black K 3 rows
Switch to grey K 2 rows
Switch to black K 3 rows
Switch to grey K 1 row
BO weave in ends or make a loop with tail. I looped with my tail.
Then with a tapestry needle, make 1 red button and 1 white button.
The blue in my lightsaber glows too. I’m pretty pumped about that.

Also, it must be said, this is my original design, and I would prefer if anyone using wouldn't sell my pattern or the products that they make from it.  Isn't it just nicer to make things and give them away?  I mean, the pattern is free because I enjoy just giving things away :)

Cozies for everyone!

I suffer from always being cold.  It's not medical, I'm just a baby.  I also don't like holding cold sweaty pop or beer cans.  Thus I had a need and invented the cozy.  Yes, I invented it.  Anything you saw before, were all imitations! lol...


SIZE 
One size fits all... maybe most.
FINISHED MEASUREMENTS
lol, go measure a can
MATERIALS
1 skein of medium worsted yarn (RedHeart SuperSaver)
US 4 DPN
stitch markers
GAUGE
5 sts/7 rows=1 inch stockinette stitch
PATTERN NOTES
CO=Cast on
sts=stitches
div=divide
k=knit
m=make
When making a new stitch for the increase, you can either just wrap a stitch, or Knit one in the front of the loop, then before pulling yarn off of left needle, knit one in the back of the loop, then finish pulling the 2 sts off the left needle.  Make sense?  Hope so!  If you choose to wrap the stitch - wrapping the yarn around the needle then continuing knitting, it will make a hole-y-er increase, whereas the K1fb makes a tighter and nicer looking increase.
Also, before finishing up with the 39 sts, I like to measure it up to a can to see if it needs more or less sts, sometimes I'm knitting tighter than usual.  Also, it's nice to knit on bigger needles and get larger coozies for larger beverages!
PATTERN
CO 6 sts div evenly between needles
Row 1 K
Row 2 K1 m1 K1, repeat per needle (9 sts)
Row 3 K
Row 4 K1 m1, K to last two, K1 m1 K1, repeat per needle (15 sts)
Row 5 K
Row 6 K1 m1, K to last two, K1 m1 K1, repeat per needle (21 sts)
Row 7 K
Row 8 K1 m1, K to last two, K1 m1 K1, repeat per needle (27 sts)
Row 9 K
Row 10 K1 m1, K to last two, K1 m1 K1, repeat per needle (33 sts)
Row 11 K
Row 12 K1 m1, K to last two, K1 m1 K1, repeat per needle (36 sts)
Row 13 k
Row 14 K1 m1, K to last two, K1 m1 K1, repeat per needle (39 sts)
Row 15 K
Row 16 Mark first stitch with stitch marker, k
Continue to knit until you’ve met your desired length, bind off and enjoy! :)  I usually knit another 4-4.5" or 11 centimeters.

Also, it must be said, this is my original design, and I would prefer if anyone using wouldn't sell my pattern or the products that they make from it.  Isn't it just nicer to make things and give them away?  I mean, the pattern is free because I enjoy just giving things away :)